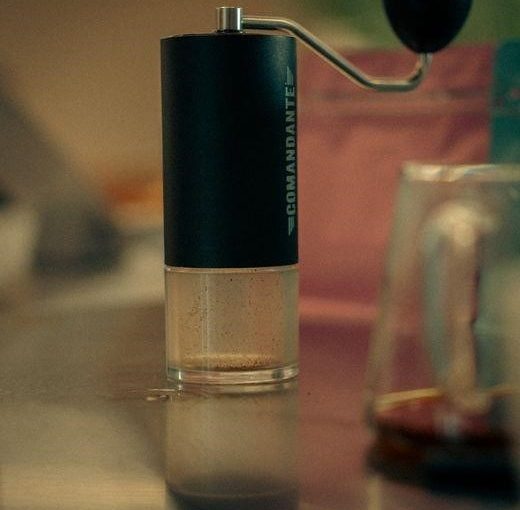
Grind your beans fresh each brew to unlock aroma and flavor. A burr grinder offers consistent particle size, while a blade grinder is quick but uneven. Adjusting grind size tailors extraction: fine for espresso, coarse for French press. Timing matters—once ground, coffee begins to oxidize. Taste peaks fast now.!
Why Grinding Matters
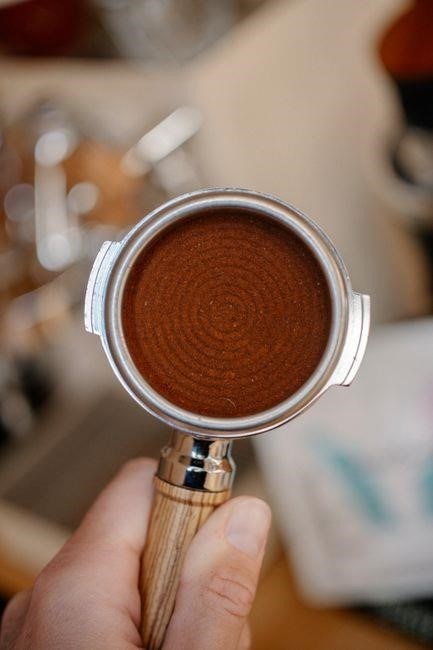
Grinding is the first decisive step in coffee preparation. When beans are ground, the surface area expands, exposing aromatic compounds and volatile CO₂ that were locked in during roasting. This rapid oxidation releases the bouquet of flavors that a cup can offer. Even a few minutes after grinding, the coffee begins to lose its bright notes and develops a stale, flat taste. That’s why professional cafés grind on demand rather than pre‑grinding large batches. In a home setting, the choice between a blade or burr grinder can make a noticeable difference. Blade grinders chop beans irregularly, producing a mix of fine dust and larger shards that can lead to uneven extraction. Burr grinders, whether manual or electric, crush beans between two surfaces, delivering a uniform particle size that ensures consistent contact with water. Consistency in grind size is crucial because it directly affects the rate at which water extracts soluble compounds. A too‑fine grind can over‑extract bitterness, while a too‑coarse grind under‑extracts sweetness and body. Therefore, understanding how to adjust your grinder and how quickly to use the ground coffee is essential for achieving a balanced, flavorful brew every time. The act of grinding itself can influence the final cup: a burr grinder’s precision ensures that each particle is similar in size, which means water flows through the bed evenly, preventing channeling and uneven extraction. In contrast, a blade grinder’s uneven particles can create pockets of over‑extracted or under‑extracted coffee, leading to a muddled flavor profile. By mastering the grinding process—knowing when to turn the dial, how long to grind, and how quickly to brew—you gain control over the entire flavor spectrum of your coffee. Keep beans fresh. Always.
Types of Coffee Grinders
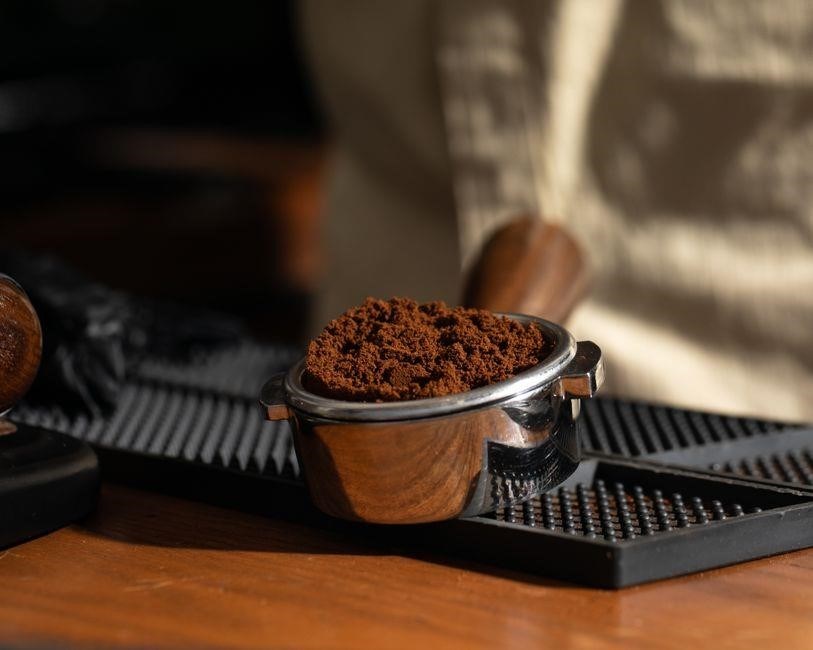
Two main categories exist: burr grinders, which crush beans between two surfaces for uniform particles, and blade grinders, which chop beans rapidly but unevenly. Burrs come in manual or electric forms, each offering different precision levels. Pick a grinder that fits your brew !
Burr vs Blade
Burr grinders crush beans between two abrasive surfaces, delivering consistent particle sizes that enhance extraction and flavor stability. Blade grinders, in contrast, spin a blade to chop beans, producing uneven fragments that can lead to over‑ or under‑extraction and a less predictable taste. Burrs typically offer adjustable settings from coarse to fine, allowing precise control for espresso, pour‑over, or French press. Blade models are usually single‑speed, making them less precise but more affordable and portable. For home enthusiasts seeking consistent results, a burr grinder is the preferred choice, while a blade grinder can serve as a quick, budget option when convenience outweighs precision. The uniformity of burr grinding reduces the risk of channeling, where water flows unevenly through the grounds, causing inconsistent extraction. Blade grinders often leave a mix of fine dust and larger shards, which can clog filters and alter the brew’s body. Burr grinders also tend to generate less heat, preserving aromatic compounds that are sensitive to temperature. When choosing a grinder, consider the brewing method: espresso demands a fine, uniform grind; French press benefits from a coarser, more uniform texture; and pour‑over sits between the two. Ultimately, the choice between burr and blade hinges on desired consistency, budget, and the level of control you want over your coffee’s flavor profile.
Burr grinders also tend to be quieter than blade models, making them suitable for quiet kitchens. Their burrs, often made of steel or ceramic, last longer than blade blades, which can dull quickly. Though initially pricier, burr grinders provide greater precision and durability, offering better value for serious coffee lovers over time daily.
Manual vs Electric
Manual grinders rely on hand‑powered cranks or foot pedals, offering tactile control and a quiet, portable experience. They typically use burrs that can be adjusted by turning a dial, allowing precise grind size selection without the noise of motors. Because the user controls the speed, manual models produce consistent, evenly ground coffee, ideal for small batches or travel. However, they require physical effort and time, especially for larger quantities, and the grind can vary slightly with fatigue.
Electric grinders, powered by a motor, provide rapid, effortless grinding with minimal user input. They often feature preset grind settings and automatic shut‑off, making them convenient for everyday use. The motor’s consistent speed yields uniform particles, reducing the chance of over‑ or under‑grinding. Yet, electric models can generate heat, potentially affecting aromatic compounds, and they are bulkier and noisier. Maintenance involves cleaning burrs and ensuring the motor remains free of bean residue to maintain grind quality over time.
Choosing between manual and electric depends on lifestyle and brewing goals. Manual grinders appeal to those who value simplicity, control, and a quieter kitchen, while electric grinders suit users who prioritize speed, convenience, and consistent output. Both types benefit from regular cleaning and proper storage to maintain grind quality over time.
Whether you grind by hand or plug in, the key is consistency: grind once, use immediately, and enjoy the full spectrum of flavors that fresh coffee offers. Cheers!!!
Grinder Settings and Grind Size
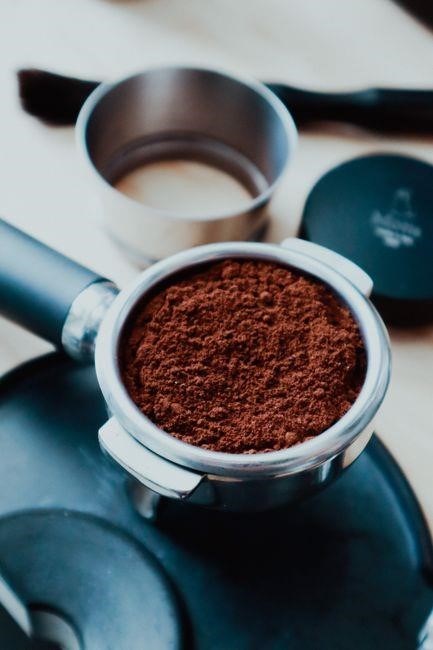
Adjust the dial on a burr grinder to set particle size: lower numbers yield finer grounds for espresso, higher numbers give coarser grounds for French press. Consistency matters—once ground, coffee begins to oxidize, so grind just before brewing. Use a timer for consistency. daily.
Understanding the Dial
The dial on a burr grinder is your primary control for particle size. Most models label positions numerically, with 1 being the finest grind and the highest number the coarsest. Some grinders use a “coarse” to “fine” scale or a series of dots. To read the dial, start at the lowest setting and gradually increase until you feel the burrs move apart, producing larger particles. The distance between the burrs determines the grind size: tighter spacing yields finer grounds, while wider spacing results in a coarser texture.
When dialing in, consider the brewing method: espresso requires a tight grind (often around 1–3 on the dial), while a French press needs a coarse grind (typically 8–10). A good rule of thumb is to test a small batch of beans at each setting, noting extraction time and flavor. If the shot pulls too quickly, the grind is too coarse; if it pulls too slowly or tastes bitter, it’s too fine.
Some grinders feature a “lock” or “reset” function that returns the dial to a default position. This is helpful for beginners who want a consistent starting point. Advanced users may calibrate the dial by marking the desired setting on the dial face or using a digital timer to record extraction times for each setting.
Remember, the dial is not just a number; it’s a guide to the physical distance between the burrs. By mastering its use, you can consistently achieve the optimal grind size for any coffee style.
Practice dialing in by noting how the grind feels and how the brew responds; small adjustments can dramatically shift flavor for your cup.?!
Adjusting for Freshness
Freshness is the single most critical factor in coffee flavor. Once beans are ground, the surface area exposed to air accelerates oxidation, and volatile aromatics evaporate within minutes. To preserve peak aroma, grind only when you’re ready to brew, and use the smallest practical particle size for your method. For espresso, a fine grind maximizes surface area, but if you grind too finely and the coffee sits for more than a minute, the oils oxidize and bitterness rises. For pour‑over or Aeropress, a slightly coarser grind reduces contact time, keeping the brew bright.
Adjust the dial in small increments—often one or two steps—between batches. If a shot pulls too fast, the grind is too coarse; if it pulls too slow or tastes over‑extracted, reduce the size. Use a timer to record extraction time; aim for 25–30 seconds for espresso, 2–3 minutes for French press, and 2–4 minutes for pour‑over. Consistency in timing helps you fine‑tune the grind for freshness.
Store beans in an airtight container away from light, heat, and moisture. When you open the container, let the beans rest for a few minutes to equalize temperature, then grind. Avoid grinding beans that have been stored for more than a week, as they lose volatile compounds. If you must grind ahead of time, keep the ground coffee in a sealed container and use it within 24 hours.
Finally, experiment with a small test batch each time you change beans or roast date. The flavor profile of a freshly roasted batch can differ significantly from a week‑old one, so adjust the grind accordingly. By treating the dial as a dynamic tool rather than a fixed setting, you can maintain freshness and unlock the full potential of every cup.
Remember that the optimal grind for freshness also depends on the roast level. Light roasts, with higher acidity, benefit from a slightly finer grind to extract bright notes, whereas dark roasts, with lower acidity, can handle a coarser grind to avoid over‑extraction. Adjusting the dial while monitoring taste ensures that each cup reflects the beans’ intended flavor profile.
Use a digital timer or a simple stopwatch to record the exact moment the first drop appears and the total brew time. Logging these times allows you to correlate grind size with extraction speed. Over time, you’ll build a reference chart for each bean and roast, enabling you to dial in the perfect grind for freshness without trial and error.
Matching Grind Size to Brewing Method
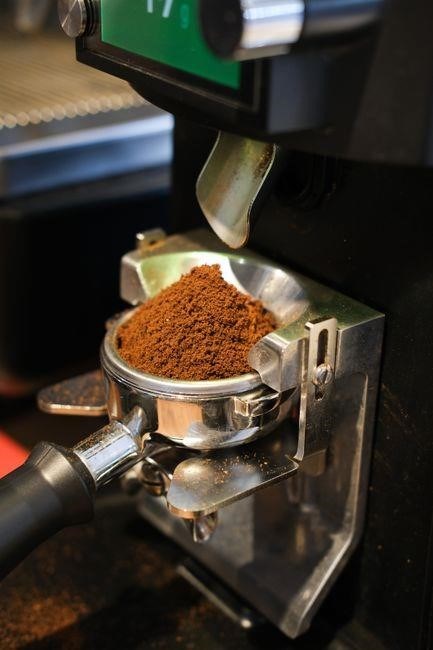
Choosing the right grind size is essential for each brewing method because extraction time and surface area must align. A fine grind (particles 0.3–0.5 mm) is ideal for espresso, delivering maximum contact in 25–30 s. For Aeropress with a 2‑minute steep, a medium‑fine grind (0.5–0.7 mm) balances speed and flavor. Pour‑over systems like V60 or Chemex require a medium grind (0.7–1.0 mm) to allow water to flow evenly over 2–3 min. French press and cold brew demand a coarse grind (1.2–1.5 mm) to prevent over‑extraction and sediment; the contact time is 4–5 min for hot and 12–24 h for cold.
The same bean can shift between methods by adjusting the burr setting in 1‑step increments, but always test a small batch first. Consistent grind size reduces bitterness and preserves the bean’s aromatic profile. When using a blade grinder, aim for a uniform texture by pulsing short bursts and shaking between pulses. For electric burr grinders, clean the burrs regularly to avoid cross‑contamination, and calibrate the dial to match the method’s required particle size. A burr grinder’s precision allows you to replicate the same grind size across multiple batches, ensuring consistency.
By aligning grind size with brewing technique, you unlock the full spectrum of flavor and ensure each cup reflects the intended profile. This precision ensures that the coffee’s nuances are not lost. Fine‑grind espresso requires a short extraction; any delay can lead to over‑extraction. A coarse grind for French press allows the coffee to steep without over‑extraction, preserving body. The grind’s particle distribution also determines how quickly the coffee dissolves during brewing.
When dialing in a new grind, weigh the dose with a digital scale to ensure consistency. A 18‑gram dose for espresso or 20‑gram for pour‑over allows you to compare extraction times accurately. If the brew is too bitter, increase the grind size by one step; if it tastes sour, decrease the size. Adjusting the grind in 0.1 mm increments yields noticeable flavor shifts. Using a consistent dose ensures that grind size adjustments directly affect extraction rather than being confounded by variable amounts.
Finally, remember that the grind’s impact is cumulative with other variables: water quality, temperature, and brew method. Even a perfect grind can be ruined by hard water or a temperature too low for the chosen method. By treating grind size as a foundational variable and adjusting it in concert with other factors, you create a balanced, repeatable coffee experience. When experimenting, keep a log of grind size, dose, and brew time to track flavor evolution. When scaling up for a barista setting, a larger burr grinder can maintain uniformity across dozens of cups. Burr grinder delivers grind across settings.
Optimal Grinding Techniques
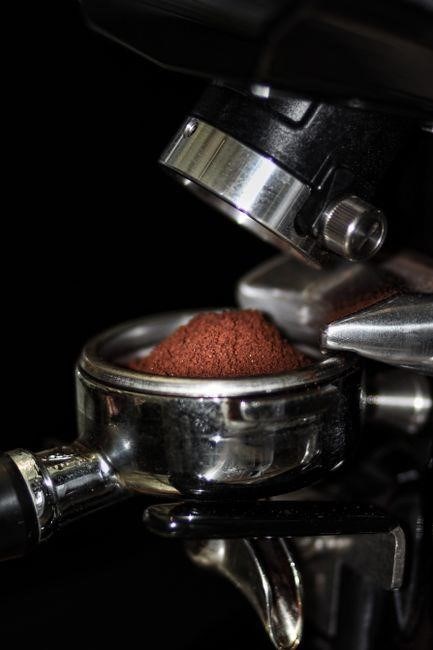
First, preheat your grinder if it has a heating element; this reduces moisture absorption and keeps beans dry. For electric burr grinders, set the dial to the desired size and run a short test grind—about 5 g—to confirm consistency. If the particles look uneven, clean the burrs and try again. For manual grinders, rotate the handle slowly and evenly; a steady rhythm prevents heat buildup and ensures uniformity. Keep the beans in a single layer on the grinding plate to avoid clumping.
When using a blade grinder, pulse in short bursts of 2–3 seconds, then pause to shake the beans. This technique limits heat and preserves volatile aromas. After each burst, tap the grinder to dislodge any stuck particles. Avoid continuous spinning, which can scorch the beans and alter flavor. If you must grind larger quantities, divide the beans into smaller batches and grind each separately.
Temperature control is critical. Coffee beans are most aromatic at 20–25 °C; store them in an airtight container away from direct sunlight. During grinding, keep the grinder in a cool area to prevent heat buildup. If you notice the grinder’s housing warming, pause and let it cool before continuing. This practice preserves the integrity of the roast’s flavor profile.
Finally, timing your grind to the brewing moment maximizes freshness. For espresso, grind within 30 seconds of brewing; for pour‑over, grind just before pouring. If you must grind ahead, use a vacuum‑sealed bag and store the grounds in a dark, cool place. Remember, a freshly ground bean delivers up to 30 % more aroma than a pre‑ground one. When ready, transfer the grounds to a clean container and use them immediately. Consistent technique, temperature, and timing together create the best possible cup.
Common Mistakes to Avoid
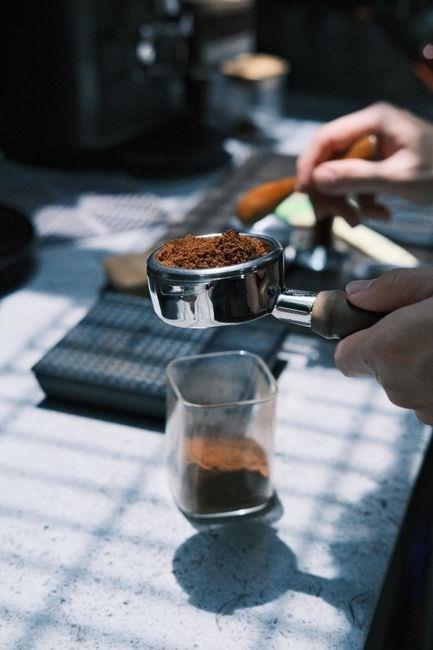
Grinding too early is a common mistake; coffee begins to oxidize as soon as the beans are broken, so a pre‑ground batch quickly loses aroma and flavor. Store beans whole and grind just before brewing. Using a blade grinder for espresso or other fine‑grind methods produces uneven particles, leading to over‑extraction and bitterness. Burr grinders provide the consistency required for precise dosing.
Many users overlook cleaning the grinder; residual oils and fine particles cling to burrs and blades, contaminating subsequent grinds and altering taste. A common oversight is setting the grinder too fine for the chosen brewing method; a too‑fine grind for a French press causes a gritty texture, while a too‑coarse grind for espresso yields a weak, watery shot. Match grind size to the method, and adjust the dial accordingly. Adjusting the grind size for each brewing method ensures optimal extraction and flavor balance. Remember that a too‑fine grind for a French press can lead to over‑extraction, while a too‑coarse grind for espresso will under‑extract, producing a weak, watery shot. Fine‑tuning the grind is essential.
Neglecting temperature control degrades flavor; beans should be stored at room temperature in a dark, airtight container, away from heat. When grinding, avoid prolonged operation that generates heat, especially with electric models. Keep the grinder in a cool spot and pause between bursts if necessary. By steering clear of these common mistakes, you’ll consistently produce a cup that showcases the beans’ full potential.
Maintaining Your Grinder
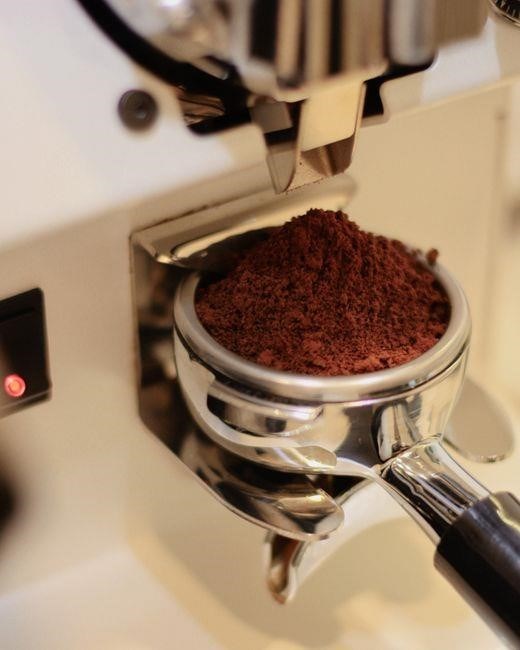
Regular maintenance keeps your grinder’s performance sharp and extends its life. Begin by unplugging the unit and removing any beans or residue from the hopper. For electric burr grinders, disassemble the burr set and clean each component with a soft brush or a damp cloth—avoid harsh chemicals that can damage the metal or plastic. For manual grinders, wipe the crank, handle, and burrs with a dry cloth; if stubborn oils remain, use a mild soap solution, rinse, and dry thoroughly before reassembly.
To prevent clogs, run a short burst of dry beans after each use; this clears out fine particles that can accumulate in the burrs or blade; Inspect the burrs for wear every few months; uneven burrs produce inconsistent grind size, affecting extraction. Replace or grind the burrs if you notice a dull edge or uneven wear. Keep the grinder’s housing clean, especially the grinding chamber, by wiping it with a dry cloth after each cleaning session.
Store the grinder in a dry, dust‑free area. If your grinder has a removable hopper, keep it sealed when not in use to avoid moisture and dust. Periodically check the grinder’s electrical connections and the power cord for fraying or damage; replace any worn components immediately to avoid safety hazards. By following these simple steps, you’ll maintain a consistent grind, preserve flavor integrity, and ensure your grinder remains a reliable part of your coffee routine.
Remember, a well‑maintained grinder delivers consistent flavor, so schedule a clean every few months and replace burrs when they show wear!!
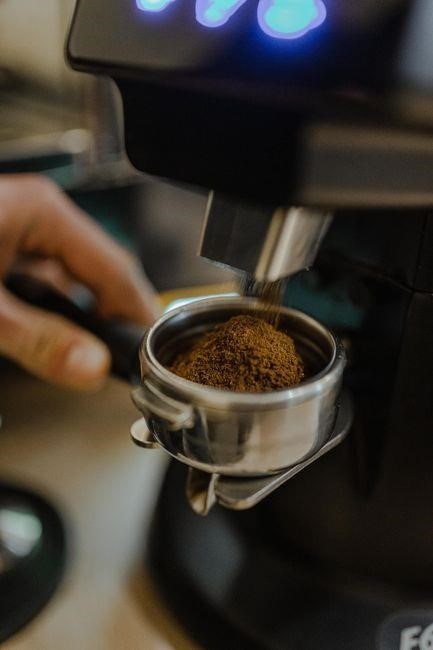
Frequency of Grinding
When you grind coffee, the flavor profile begins to change almost immediately. The best practice is to grind just before brewing, ensuring maximum aroma and freshness. For most home brewers, a daily grind is ideal: grind the amount needed for the day’s brew, typically 5–10 grams per cup. If you prefer to keep a small stash, grind in 1‑hour increments, storing the freshly ground beans in an airtight container to slow oxidation. Avoid grinding in bulk; the larger the batch, the faster the loss of volatile compounds that contribute to aroma. If you brew multiple times a day, consider a second grind for each session. For espresso, a fine grind is required; for French press, a coarse grind; adjust the timing accordingly. Remember, the window of peak flavor is roughly 30 minutes to an hour after grinding, so plan your schedule to match this window. If you’re using a blade grinder, the uneven particle size can accelerate oxidation, so keep the grind time short—just a few seconds. For burr grinders, you can afford a slightly longer grind time, but still aim for a fresh batch. In summary, daily or hourly grinding, coupled with airtight storage, preserves the nuanced flavors that make coffee special.
To further extend the life of your grinder, consider a monthly deep‑cleaning routine that removes oils and residues from the burrs and housing. This simple step ensures consistent grind quality and protects against bacterial growth, keeping your coffee tasting bright and clean every time you brew. Replace burrs when they show wear keep grind quality.
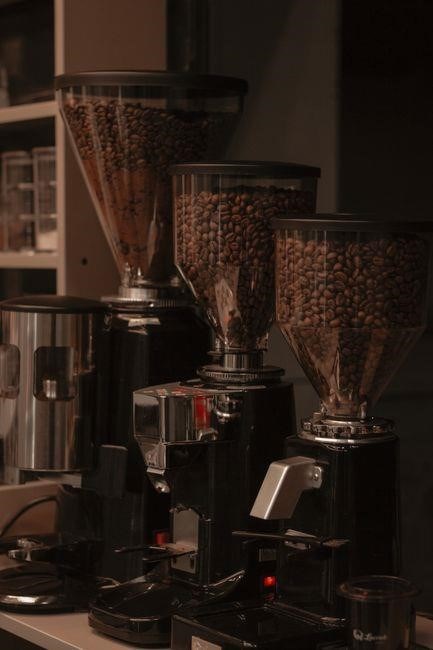
Storage of Beans
Proper storage preserves freshness and flavor. Keep beans in a cool, dark place, away from heat, light, and moisture. Use an airtight, opaque container—glass or metal with a one‑way valve—to trap CO₂ while preventing CO₂ from entering. Avoid plastic bags that can absorb odors; instead, use vacuum‑sealed bags or a dedicated coffee canister. Store beans in small, single‑use portions: 250–300 g per bag is ideal for daily use. If you have a larger supply, divide it into 50–100 g portions and seal each immediately after opening. This limits exposure to air and reduces oxidation. Do not refrigerate beans, as condensation can damage flavor; the pantry or a cupboard is best. For long‑term storage, keep beans in a freezer, but only in sealed, airtight bags and thaw them at room temperature before grinding. Never place beans near strong‑smelling foods; coffee absorbs aromas quickly. When you open a bag, close it tightly and shake gently to redistribute the beans, ensuring even exposure to the container’s interior. Finally, label each container with the roast date and roast level so you can track freshness and choose the right beans for each brewing method. By following these simple storage guidelines, you’ll enjoy a consistently bright, aromatic cup every time you brew. Remember that beans lose their peak aroma within 24 hours of opening, so always use a small portion and reseal the rest immediately; this practice keeps the beans at their best for the longest possible time. Storing beans in a cool, dark drawer rather than a pantry shelf can further reduce light exposure and preserve flavor. Avoid storing beans near spices or onions to prevent odor transfer. Keep them sealed. and use a vacuum seal. daily. now